一、簡介
Thank you for choosing the Philips DashCam 4K Front and Rear. This device is designed to provide reliable video recording of your journeys, enhancing driving safety and providing crucial evidence in case of incidents. Featuring 4K front recording, 1080P rear recording, super night vision, 24-hour parking monitoring, loop recording, and smart app control via Wi-Fi, this dashcam offers comprehensive coverage and ease of use. Please read this manual thoroughly before installation and operation to ensure optimal performance and safety.
2. 包裝內容
請檢查包裝內是否有以下物品:
- Philips DashCam (Main Unit)
- 後置攝像頭
- 電源線(車用充電器)
- Mounting Bracket with Adhesive
- 32GB MicroSD 卡
- 使用者手冊
- Hardwire Kit (Optional, for 24-hour parking monitoring)
3. 產品結束view
Familiarize yourself with the components of your Philips DashCam.

圖片3.1: Main DashCam unit with labeled parts including Type-C interface, TF card slot, display, reset button, lens, mute button, power switch, arrow keys, and speaker.

圖片3.2: 正面 view of the Philips DashCam showing its compact size (approx. 10cm height, 5cm width) and key features like 4K+1080P recording, wide-angle lens, Wi-Fi, loop recording, WDR, 24-hour parking monitor, free 32GB card, voice transmission, and supercapacitor.
4. 設定
4.1. 安裝
Follow these steps to install your dashcam in your vehicle:
- 清潔擋風玻璃上您打算安裝行車記錄器的區域。確保它不會遮擋您的視線。 view.
- 將安裝支架連接到行車記錄器。
- Peel off the protective film from the adhesive pad on the mounting bracket and firmly press it onto the chosen spot on your windshield. Hold for a few seconds to ensure a secure bond.
- Connect the power cable to the dashcam and route it neatly along the windshield edge and dashboard to your car's 12V power outlet (cigarette lighter socket).
- 將車用充電器插入12V電源插座。
- Install the rear camera (if applicable) on the rear windshield and connect its cable to the main dashcam unit.
視頻4.1: This video demonstrates the physical installation of the Philips DashCam, including mounting the front unit on the windshield, connecting the power cable, and showing the initial power-on sequence. It also shows the Wi-Fi connection process and hardwire kit installation.
4.2. 首次上電
Once connected to power, the dashcam will automatically power on and begin recording. The screen will display the live view from the front camera. Ensure the date and time are correct in the settings.
4.3. Wi-Fi 連線和應用程式控制
The dashcam features built-in Wi-Fi for easy control and video management via a smartphone app.
- Download the dedicated app (e.g., REDTIGER app) from your smartphone's app store (iOS or Android).
- On the dashcam, navigate to the settings menu and enable the mobile internet/Wi-Fi option. A QR code and Wi-Fi name/password will be displayed.
- On your smartphone, go to Wi-Fi settings and connect to the dashcam's Wi-Fi network (e.g., "PHILIPS-TAC1279_0A5B3A"). Enter the password displayed on the dashcam screen.
- Open the app. It should automatically detect and connect to your dashcam.
- 透過該應用程序,您可以 view 住 footage,播放錄製的視頻,下載 files to your phone, and adjust dashcam settings.

圖片4.1: The dashcam connects to a smartphone app via Wi-Fi, allowing for camera settings adjustment, video playback, downloading, and OTA updates.
4.4. Hardwire Kit Installation (for 24-hour Parking Monitoring)
To enable continuous 24-hour parking monitoring, connect the optional hardwire kit to your vehicle's fuse box. This ensures the dashcam receives power even when the engine is off, protecting your car while parked.
筆記: Professional installation is recommended for hardwiring to avoid damage to your vehicle's electrical system.
視頻4.2: This segment of the video demonstrates how to connect the hardwire kit to the vehicle's fuse box for continuous power supply, enabling 24-hour parking monitoring.
5. 操作說明
5.1. 錄製模式
The dashcam supports various recording modes to capture your driving experience.
5.1.1. Dual Dash Cam - 4K Front + 1080P Rear
The front camera records in crystal-clear UHD 4K resolution, while the wide-angle rear camera captures FHD 1080P video. This dual-camera setup provides comprehensive coverage, reducing blind spots and ensuring a safer driving experience. Both cameras feature an F1.5 aperture for depth capture.

圖片5.1: Illustration of the 4K front camera with a 140-degree view and the 1080P rear camera with a 130-degree view, ensuring wide coverage.
視頻5.1: This segment shows an example of 4K resolution recording during nighttime driving conditions, demonstrating the clarity of the footage.
5.1.2. 循環錄音
The dashcam supports loop recording, automatically overwriting the oldest non-essential videos when the memory card is full. This ensures continuous recording without manual intervention. The device comes with a 32GB card and supports up to 256GB.
圖片5.2: The dashcam unit with a visual representation of loop recording, where older footage is continuously replaced by new recordings.
5.1.3. 24-Hour Parking Monitoring (G-Sensor)
Equipped with a built-in collision sensor (G-sensor), the dashcam can detect impacts while parked. The G-sensor has four sensitivity modes (Off, Low, Medium, High). When an impact is detected, the dashcam will automatically record and lock the footage, protecting it from being overwritten. Time-lapse recording provides continuous 24-hour surveillance.

圖片5.3: The dashcam automatically records and locks footage upon detecting an impact, ensuring critical event videos are saved.
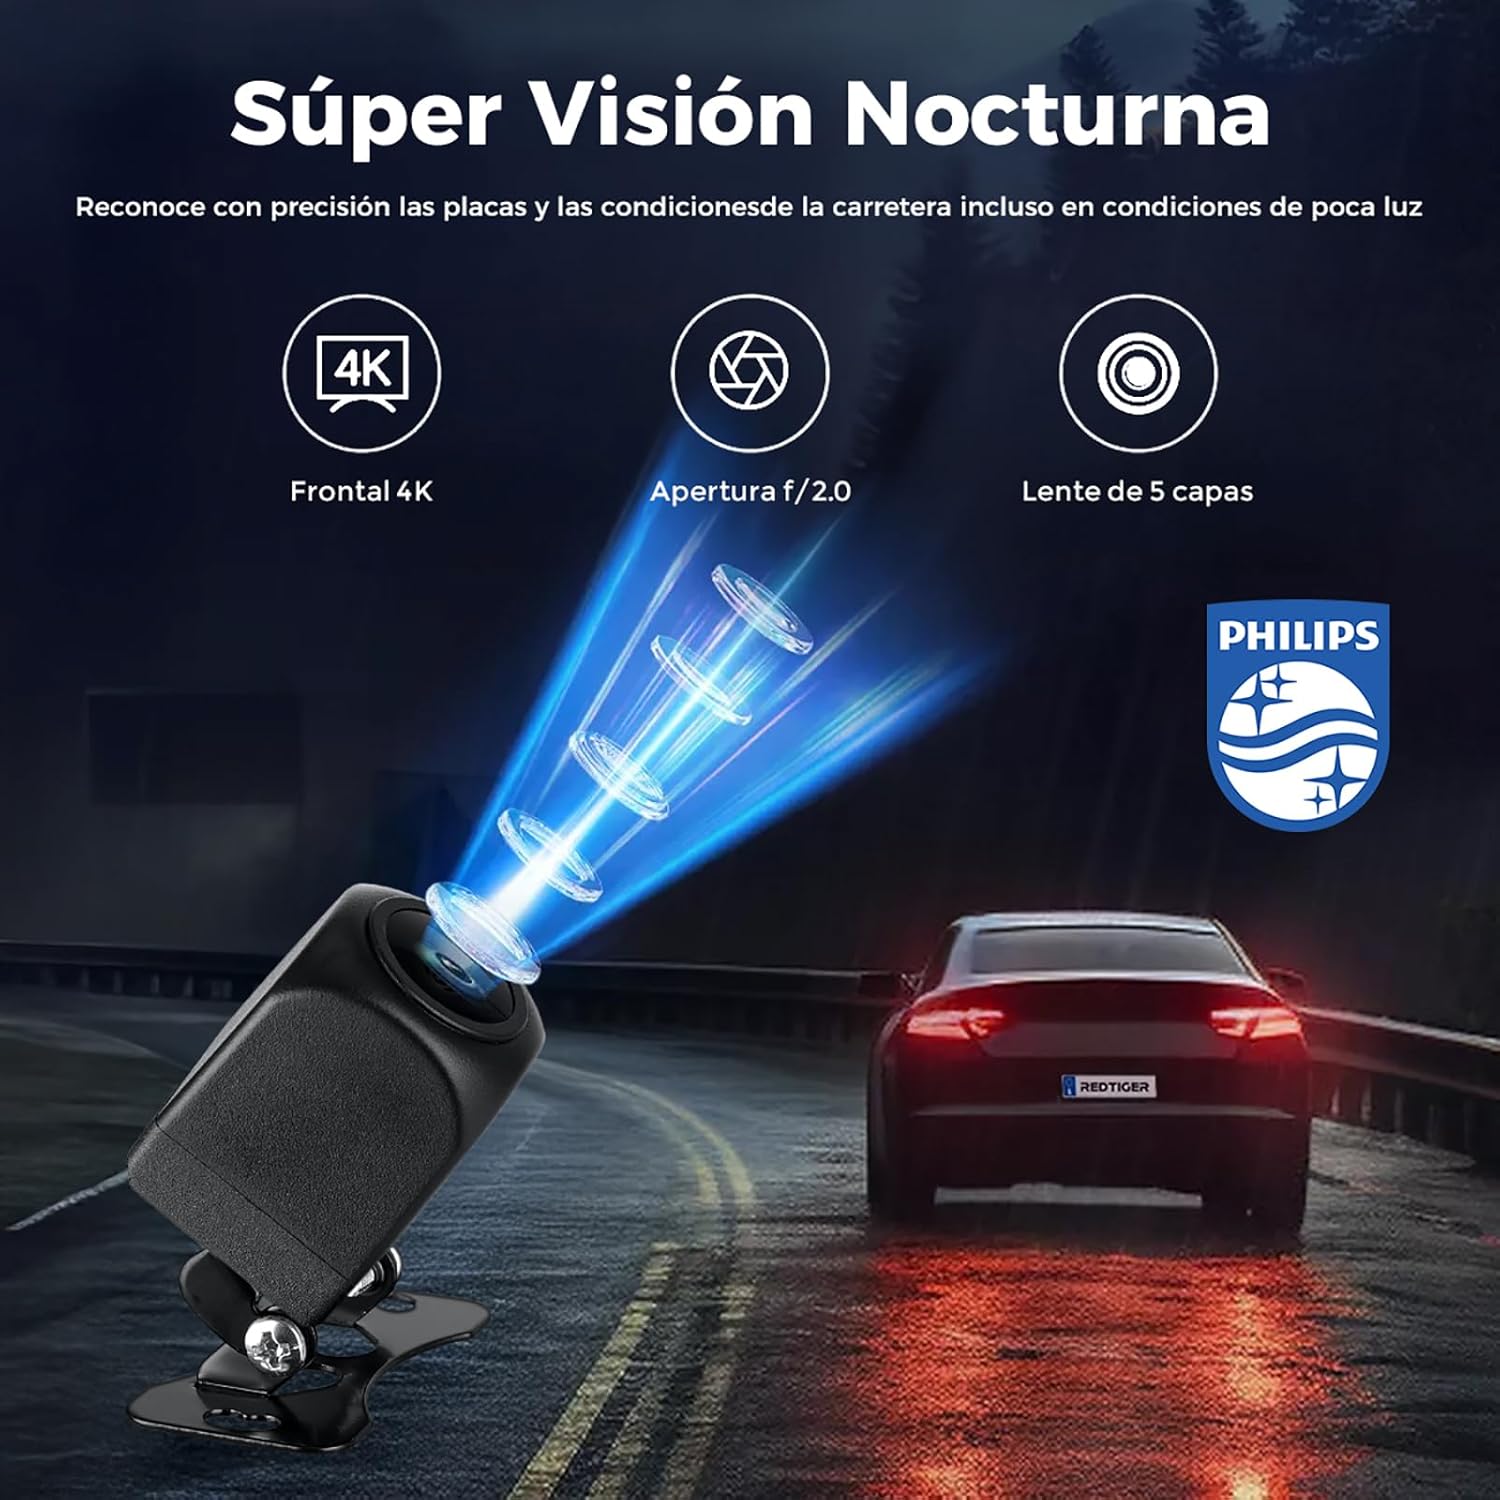
5.2. Excellent Night Vision
The 4K dashcam features 6-layer glass, an F1.5 aperture, and WDR (Wide Dynamic Range) technology, providing excellent night vision capabilities. This allows for high-resolution recording during both day and night, significantly improving driving safety in low-light conditions. It precisely recognizes license plates and road conditions even in dim light.

圖片5.4: The dashcam's advanced night vision technology, featuring Light-Balanced Tech and F1.5 Large Aperture, captures clear images in low-light environments.
6、維護保養
6.1. MicroSD卡管理
- 格式設定: It is recommended to format the MicroSD card regularly (e.g., once a month) to ensure optimal performance and prevent data corruption. This can usually be done through the dashcam's settings menu or the mobile app.
- 卡壽命: MicroSD cards have a limited number of write cycles. If you experience recording issues, consider replacing the card. Use high-endurance MicroSD cards specifically designed for dashcams.
6.2. 清潔
- Gently wipe the camera lens with a soft, lint-free cloth to ensure clear video quality.
- 用乾布或略微濕潤的布清潔行車記錄器機身。amp 布。請勿使用刺激性化學物質或研磨性清潔劑。
7。 故障排除
若您的行車記錄器出現問題,請參考以下常見問題及解決方法:
| 問題 | 可能的解決方案 |
|---|---|
| 行車記錄器無法開機。 | Check if the power cable is securely connected to both the dashcam and the car's power outlet. Ensure the car's power outlet is functioning. |
| 錄音停止或 footage 已損壞。 | Format the MicroSD card. If the issue persists, try a new high-endurance MicroSD card. Ensure the card is correctly inserted. |
| Wi-Fi 連線失敗。 | Ensure Wi-Fi is enabled on the dashcam and your smartphone. Re-enter the Wi-Fi password. Try restarting both the dashcam and your phone. |
| 視頻質量差。 | 清潔相機鏡頭。確保鏡頭上的保護膜已撕下。檢查應用程式中的視訊解析度設定。 |
| 停車監控系統故障。 | Ensure the hardwire kit is correctly installed and connected. Check G-sensor sensitivity settings. |
8. 規格
Key technical specifications for the Philips DashCam CVR308/93 (TAC-1279):
- 品牌: 飛利浦
- 型號名稱: TAC-1279 (CVR308/93)
- 連接技術: 無線上網
- 特色: 停車監控器
- 車輛服務類型: 車
- 錄像分辨率: 4K(前置),1080P(後置)
- 螢幕尺寸: 3英寸
- Vehicle Part Position: Front Left Upper (for main unit)
- 隨附電池: 是的
- 電池類型: 鋰離子
- 相容設備: 車
- Automatic Part Orientation: 前後
- 顏色: 黑色的
- Item Dimensions (Depth x Width x Height): 12 x 10 x 16 厘米
- 製造商: 飛利浦
- 原產地: 中國
9. 保固和支持
This Philips DashCam comes with a standard manufacturer's warranty. Please refer to the warranty card included in your package for specific terms and conditions. For technical support, troubleshooting assistance, or warranty claims, please contact Philips customer service or visit the official Philips support web網站。請保留您的購買收據作為購買憑證。